5 Tips to Make Solar LED Lights Last Longer
Nov 18, 2025
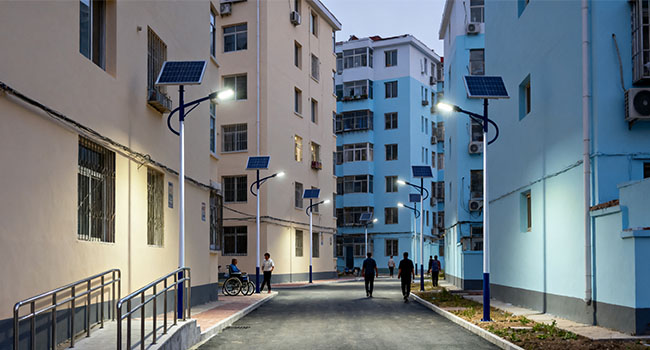
Solar LED street lights have become the mainstream choice for outdoor lighting due to their energy efficiency, environmental friendliness, easy installation, and low operational costs. However, in actual use, most users neglect basic maintenance, leading to issues like brightness decay and reduced illumination duration within 3-5 years. In fact, with proper maintenance, the overall lifespan of solar LED street lights can be extended to 8-10 years, with light decay controlled within 30%, while significantly reducing replacement costs.
Regularly Clean Solar Panels
Solar panels serve as the “energy source” for street lights, and their cleanliness directly impacts charging efficiency. Debris like dust, bird droppings, and leaves can block sunlight, while snow accumulation not only hinders energy absorption but may also damage the panel structure. Data indicates that every 1mm increase in dust thickness on solar panels reduces photovoltaic conversion efficiency by 5%-8%. Severe dust accumulation or bird droppings can cause efficiency losses exceeding 20%, particularly in heavily polluted areas, near deserts, or in windy/dusty regions where dust buildup is more pronounced.
Cleaning Advantages in Product Design and Maintenance Frequency
Reputable manufacturers optimize cleaning convenience during LED street light production and installation. For instance, solar panels are designed with an incline to reduce bird perching and debris accumulation, while natural rainfall aids in washing away some dust. Cleaning frequency should be adjusted based on the operating environment. In standard areas, cleaning every 1-2 months is sufficient. In heavily polluted or windy/dusty regions, this should be reduced to once a month. Snow accumulation requires immediate removal to prevent prolonged panel compression or light obstruction.
Practical Cleaning Methods and Precautions
Before cleaning LED street lights, disconnect the power supply to prevent electric shock hazards. Use a soft cloth or sponge dampened with clean water for gentle wiping. For stubborn stains, apply a neutral detergent. Never use corrosive cleaners to avoid damaging the panel coating. Exercise gentle pressure to prevent scratching the surface, which could reduce light transmission. Ensure post-cleaning light transmission remains ≥90%. In extremely cold regions, freezing temperatures may cause panel cracking. Consider using removable panels for storage during winter, reinstalling them when temperatures rise.
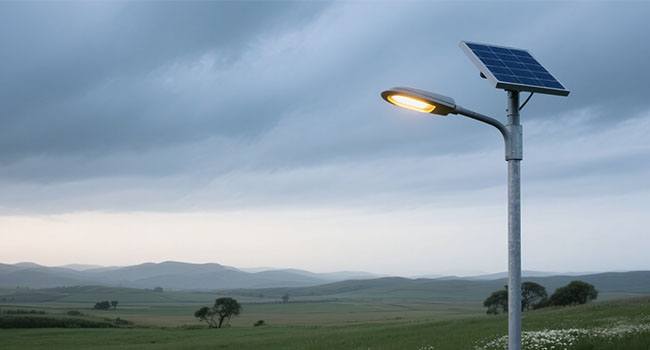
Install in Unobstructed Areas
The power generation efficiency of solar LED street lights relies on ample sunlight. Obstructions at the installation site are a key factor affecting service life. Ensure the solar panel is free from blockages by trees, buildings, billboards, etc., guaranteeing at least 4-6 hours of effective sunlight daily. When installing along roadways, reserve space for plant growth to prevent future foliage from blocking light absorption.
Optimizing Installation Details and Environmental Adaptation
Set the panel tilt angle to 5°-15° based on local latitude. This angle enhances light reception efficiency while minimizing debris accumulation and rainwater retention. Special adjustments are required for different climates: in high-temperature regions, avoid direct sun exposure on controllers by adding reflectors to reduce surface temperatures. In low-lying or rainy areas, elevate the installation height of solar LED street lights. Simultaneously inspect conduit seals to prevent water accumulation and moisture ingress in battery compartments.
Obstruction Maintenance and Position Adjustment
Regularly inspect installation areas for obstructions. Trim surrounding foliage quarterly to prevent vegetation from overgrowing and shading solar panels. If new obstructions arise due to urban development or road renovations, promptly adjust the lamp's installation position or angle to ensure uninterrupted sunlight exposure. If necessary, installation locations to guarantee continuous and stable energy supply.
Timely Replacement of Aging Batteries
Performance Comparison of Different Battery Types
|
Battery Type |
Service Life |
Cycle Count |
Capacity Degradation Characteristics |
|
LiFePO4 Battery (LFP) |
5–8 years |
2000+ cycles |
Capacity decay ≤20% after 3 years |
|
Gel Lead-acid Battery |
3–5 years |
~1000 cycles |
Capacity decay ≥30% after 2 years |
Signals and Procedures for Determining Battery Replacement
Assessing whether solar street light batteries require replacement involves three key factors. Service life: Pay close attention to lithium iron phosphate batteries exceeding 5 years and lead-acid batteries exceeding 3 years.
Performance: Significant reduction in illumination duration (e.g., from 10 hours to under 5 hours) or failure to illuminate after consecutive rainy days indicates severe battery capacity degradation.
For professional testing, measure the battery's State of Health (SOH) using a multimeter. Replacement is necessary when SOH falls below 80%. When replacing, select high-quality batteries of the same model and voltage. Installation can be performed independently by following the positive and negative polarity markings, without requiring professional assistance. After installation, inspect the battery compartment's seal to ensure the waterproof gasket shows no signs of aging.
Key Battery Maintenance Points
During daily use, avoid overcharging or deep discharging the battery. A single deep discharge may cause over 15% capacity loss. Ensure controller charge/discharge parameters match design values (e.g., 14.4V cut-off voltage for 12V systems). When not in use for extended periods, turn off the controller power and recharge every 3 months to prevent damage from deep discharge. In low-temperature regions (≤-10°C), use cold-resistant lithium batteries and ensure the battery compartment is filled with insulation material (e.g., rock wool) to enhance winter stability.
Maintaining LED Fixtures and Heat Dissipation Systems
Luminaire Cleaning and Visual Inspection
Quarterly clean the interior of LED street light covers to remove insect remains, dust, and debris that may obstruct light transmission and reduce illumination efficiency. Use a dry cloth for gentle wiping to prevent moisture ingress causing short circuits. During daily inspections, check for pole tilting, loose bolts, and corrosion/cracks at bracket welds. Address any issues promptly to prevent structural failures affecting luminaire operation.
Heat Dissipation System Maintenance and Light Source Replacement
Heat dissipation is the “lifeline” of LED light sources. High temperatures accelerate LED light decay. Ensure ventilation holes remain unobstructed by debris. During prolonged high-temperature periods (ambient temperatures exceeding 40°C), install sunshades or reflectors to reduce surface temperatures. When LED light decay exceeds 30% (indicating noticeable dimming) or measured road illuminance reveals a uniformity of illumination (Uo) below 0.4, promptly replace the light source module. This prevents individual LED failure from compromising overall lighting performance and reduces controller load pressure.
Regular Inspection of Controllers and Wiring
Controller Maintenance and Parameter Calibration
Inspect controller charge/discharge parameters every six months to ensure proper operation of light-controlled and time-controlled modes. Verify that charge cutoff voltage and discharge cutoff voltage settings comply with product specifications to prevent overcharging or over-discharging due to parameter anomalies. Monitor controller indicator lights for normal operation; if solar LED street lights exhibit flickering or persistent extinguishing, investigate the cause. In high-temperature environments, ensure adequate controller heat dissipation to prevent internal component degradation. Clean dust from ventilation holes as needed to enhance cooling efficiency.
Wiring and Connector Inspection & Waterproofing
Quarterly, inspect cable joints and wiring connections for tightness, aging, or damage. Wrap aged connectors with waterproof tape to prevent water ingress and short circuits. Prior to the rainy season, thoroughly inspect all cable joints and conduit seals. After heavy rains, inspect whether water has accumulated at the base of street lights. Drain promptly and reinforce foundations to prevent circuitry from being submerged and causing malfunctions. If street lights flicker, exhibit unstable brightness, or fail to illuminate, first check for loose wiring connections. Then investigate controller parameter settings or battery health status. If necessary, use an insulation resistance tester to assess circuit insulation integrity.
The lifespan of solar LED street lights is not determined by any single component but relies on the coordinated maintenance of five core elements: cleaning, installation, batteries, lamp bodies, and circuits. Simple measures like regular cleaning, proper site selection, and timely replacement of aging parts can extend the lifespan by 30%-50% while maintaining stable lighting performance.
related
-
 Off-Grid Road Safety: The Cost-Benefit Analysis of Solar Road Studs in Provincial ProjectsJun. 24, 2026
 -
 The Ultimate Checklist for Inspecting Road Studs Before Installation in Infrastructure ProjectsJun. 04, 2026
 -
 All-in-One vs. Split Solar Street Lights: Which is Better for the Philippine Climate?May. 26, 2026